
Aim of this post is to show how easy it is to extend the default anonymous user account registration process to add new fields to the registration form. This feature is available out-of-the-box with version 5.1 of Quest One Identity Manager and allows persons without prior access to the self-service interface of Identity Manager to register their details pending approval and account creation.
Launch the Web Designer tool from the Quest One Identity Manager start menu.
Once you have authenticated using Web Designer select the standard enrollment project which is called VI_UserRegistration_Web.
Compile this project by using the Edit->Compile Project menu item.

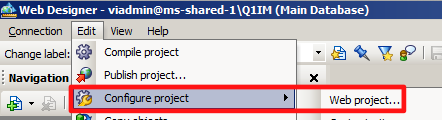
Compiling the project takes just a few seconds and then back to the Edit menu and this time select Configure project->Web Project
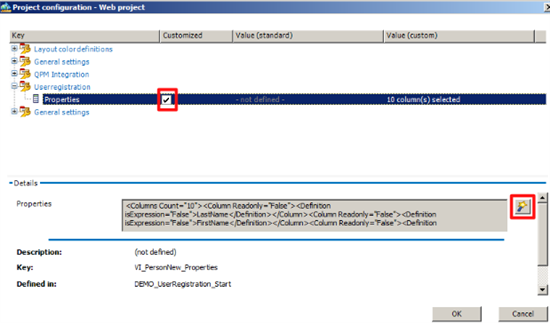
Once selected a new dialog will appear that allows us to modify the properties of the registration form. Two steps to do here, expand the user registration node and select the checkbox (customized) which will enable the wizard wand button also highlighted in the image below. Select the wizard to bring up the next dialog in this process..
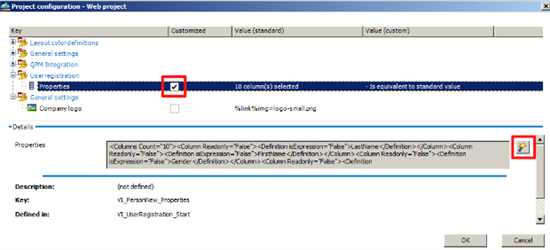
We can see here that the configuration is stored with a "key" of VI_PersonNew_Properties. So we can either modify the standard object or (preferred) we can make a copy of the default object and apply our changes to the copy. Let's go through the process of making a copy. Easiest way I find is to perform a search for the key using the search facility within WebDesigner. So let's make a note of the key value (VI_PersonNew_Properties) and cancel this web project customization dialog. From the Edit menu select the Search menu item , or just hit CTRL+F.
 Once the search dialog is open let's change the search scope to be the current web-project and enter our search text which in this case is "VI_PersonNew_Properties"...hit Search All and the results will be shown in the lower window pane.
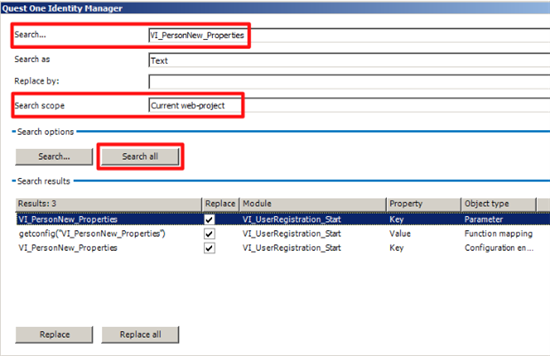
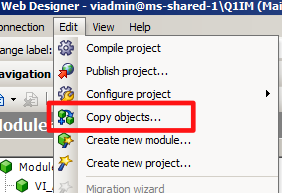
We can see that the VI_PersonNew_Properties are defined within the Module called VI_UserRegistration_Start. It is this module that we need to make a copy of.. so.. cancel the search dialog and back to the Edit menu and select Copy objects..
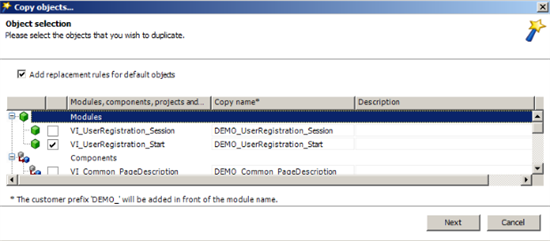
Select the VI_UserRegistration_Start module and enter a Description (optional), a copy name is automatically proposed and now we can hit the next push button.
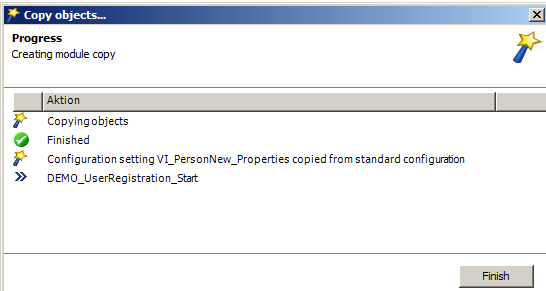
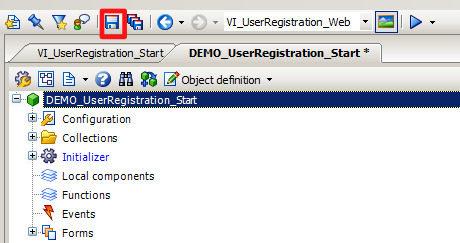
Now we have made a copy of the default module we can apply our changes to this module but first we need to save all our changes.
One of the great things about Quest One Identity Manager is that it easily shows you what has been customised, this helps with delivering any project, want to know what's been changed over the default installation ? Simple with Quest One.... for example, if we select the default module (VI_UserRegistration_Start) now we see a small "i" helper icon and hovering over this a message appears telling us that this default module has been replaced with a customization.
All the web project customizations can be viewed from this dialog:
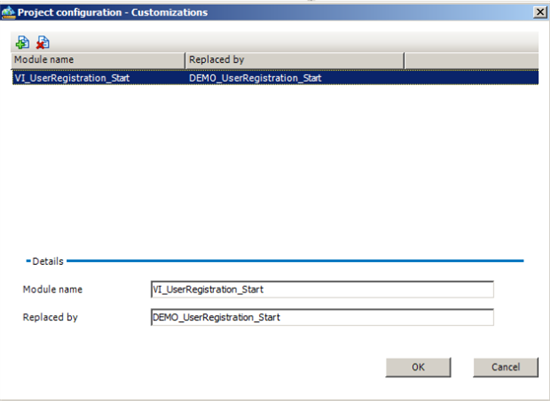
Selecting customizations brings up the project configuration dialog showing all customizations within the current web project.
Edit menu and select Configure project->Web project
Now we can see that the properties for the user registration relates to our new module DEMO_UserRegistration_Start
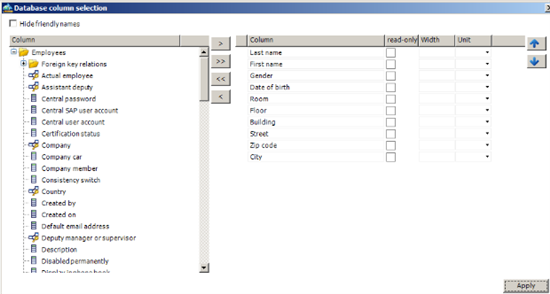
Select the wizard pushbutton to declare a new property on the registration form..
We can see on the right hand side the properties that are currently displayed on the end user registration web form, we want to include additional properties that we can select from the hierarchical tree view on the left...
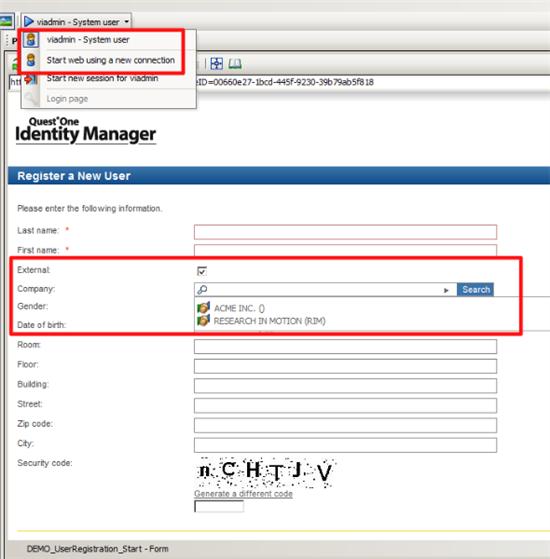
In my example I wanted to add the external flag as well as the external company name to the registration. What's neat is that I can navigate the foreign key relations from the Person object using the hierarchical explorer view without the need to code (in any language).. I select the Company field and move this over to the right hand side. I can now change the order in which these fields appear using the up and down arrow push buttons.
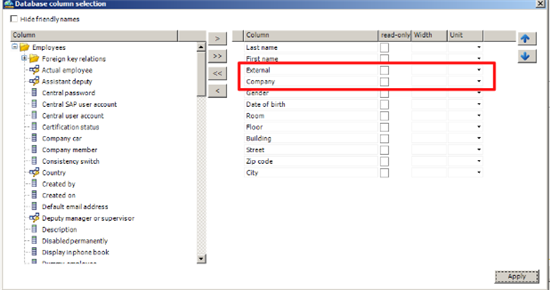
Now we save our changes, compile and test using the built in preview mode. We can see our new properties display on the form, selecting the "external" checkbox enables the company drop down with a built in search feature.
If we're happy with our modifications using the preview mode we can publish our changes with a change label which will formally update the Quest One Identity Manager repository with just a single click.
That's all folks. Hope this will be useful to someone out there.
