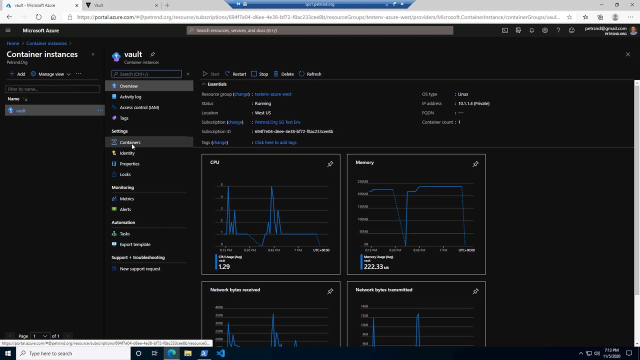
One Identity Safeguard Secrets Broker for DevOps HashiCorp Integration
 05:26
05:26
Related videos
The University of Basel gains IAM flexibility and transparency
See how PAM and IGA both secured and streamlined identity management for the University of Basel with the school’s head of identity services, Alexander Kessinge...
01:06
How to bring security and accountability to Privileged Access Management
Hear how Investors Bank leverages our PAM solution, One Identity Safeguard, to ensure privileged accounts are properly managed and attested.
04:14
Dormakaba enhances security with Safeguard PAM
Dormakaba, a global security company, chose Safeguard as its privileged access management solution for its seamless integration and administration, simple autom...
05:19
Holcim uses Safeguard to protect privileged users and critical data
Discover why Holcim, a leading global building material company, chose One Identity Safeguard as its privileged access management solution.
04:22
Why Attend One Identity Resilience? Strengthen your IGA knowledge and strategy
Modern business and IT functions require solid governance. It’s an underappreciated element of running a business. Attend to move your governance practices into...
00:30
Why Attend One Identity Resilience? Learn Privileged Access Management best practices
Your admins hold the keys to your IT kingdom. Their access can keep your organisation running smoothly or – if compromised – can bring it to a devastating stop....
00:30
Amadeus protects privileged accounts in the travel industry with One Identity Safeguard
Emmanuel Coolen, IAM Manager at Amadeus, a leading technology company serving the travel industry, tells how his company relies on One Identity Safeguard to pro...
02:54
One Identity Safeguard simplifies and secures PAM for health insurer
Laya Healthcare replaced its ‘clunky' privileged access management tools with Safeguard to better manage and protect its nearly 500,000 members.
03:07
Cybersecurity at the C-Suite Level
Andres Diago discusses PWC Global Trust Survey findings, such as: - Security concerns/challenges - Critical work of CISOs - The importance of cyber resili...
13:48
Why Attend One Identity Resilience? OneLogin access management solutions
See how we are integrating OneLogin-branded access management solutions into the market’s only unified identity security offering. Attend to accelerate and secu...
00:30
Why Attend One Identity Resilience? Build your cybersecurity knowledge
Identity security is the forefront of protecting your organisation. Join us to learn and enhance your technical and business-leadership prowess – hours of free ...
00:30
Why Attend One Identity Resilience? To optimize your Azure AD/AD strategy
Join us in Barcelona to enhance your Azure Active Directory/AD practices in our dedicated learn track for the world’s leading identity directory environment.
00:30
Why Attend One Identity Resilience? Enhanced business leadership
Technology is great, but a smoothly run organization can take that technology do great things with it. Attend One Identity Resilience to experience our executiv...
00:30
Why Attend One Identity Resilience? The Venue!
Hotel Arts Barcelona is a unique setting in which to learn how to enhance your identity security knowledge. Register today to learn, innovate and collaborate in...
00:30
One Identity Resilience – Barcelona, November 28th to December 2nd, 2022
Join us in person in late November at One Identity Resilience, the world’s premier identity security event, to learn, collaborate and safely grow your business....
00:44
